Craft room organization is the difference between a space that sparks new ideas and one that makes you want to close the door. When paint, fabric scraps, ribbon, and half-finished projects pile up, even your favorite hobby can start to feel like a chore. The good news is that you don’t need a huge room […]
Craft room organization is the difference between a space that sparks new ideas and one that makes you want to close the door. When paint, fabric scraps, ribbon, and half-finished projects pile up, even your favorite hobby can start to feel like a chore. The good news is that you don’t need a huge room or a big budget to fix it.
At Organize Simply, we help people turn overflowing spaces into calm, functional ones. Read on for 10 smart craft room storage ideas you can use whether you have a dedicated studio or just a corner of the spare bedroom.
The first step to organize a craft room is also the least glamorous: sorting. Pull everything out and group it by type, then ask whether you will realistically use each item in the next year. Donate duplicate supplies, toss dried-out markers and glue, and let go of unfinished projects you no longer love.
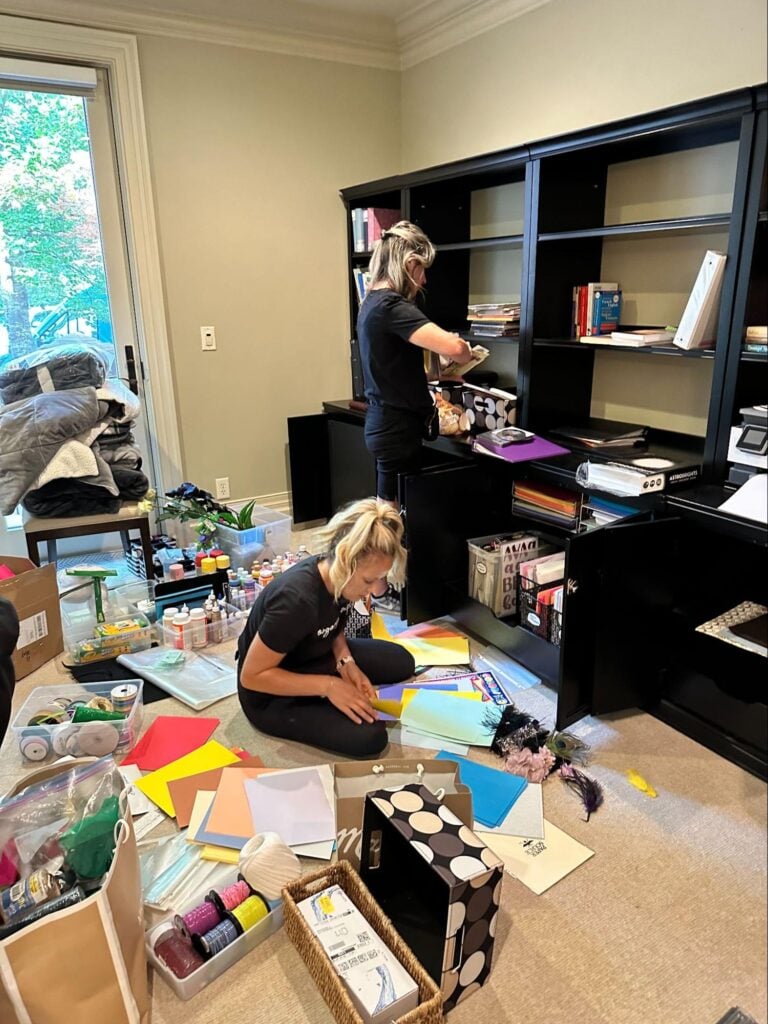
This sort-and-purge method works in every room, and it’s the foundation of any whole-home decluttering plan, which keeps your craft room from becoming the catch-all for the rest of the house. Once you can see exactly what you own, you’ll know how much storage you actually need. That saves you from buying bins and baskets that don’t fit your supplies, which is the most common (and most expensive) mistake we see.
When floor and table space are tight, go vertical. Craft room shelving ideas like floating shelves, ladder shelves, and cube units keep supplies at eye level and off your work surface. Use deeper shelves for bulky items like fabric, baskets, and sewing machines, and shallower ones for paint, ribbon spools, and small jars.
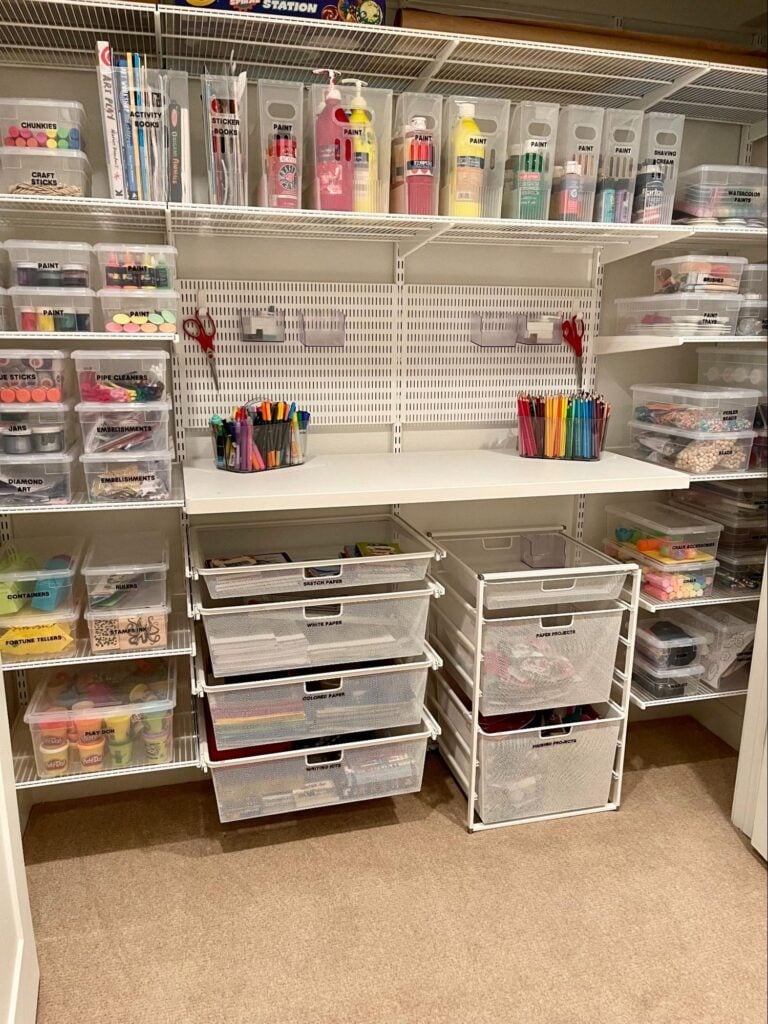
If you’re not sure where to start, it helps to understand how to maximize storage using wall shelving before you pick up a drill. Think about shelf height, spacing, and weight so the setup works for the way you create. Anchor shelves into studs whenever you can, because craft supplies get heavy faster than you’d expect.
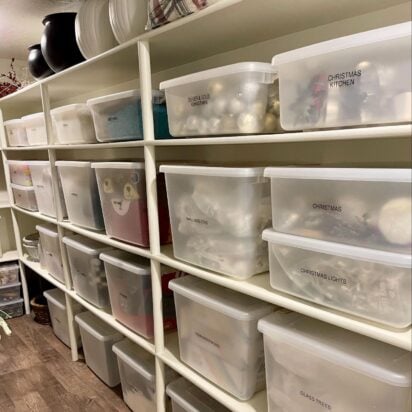
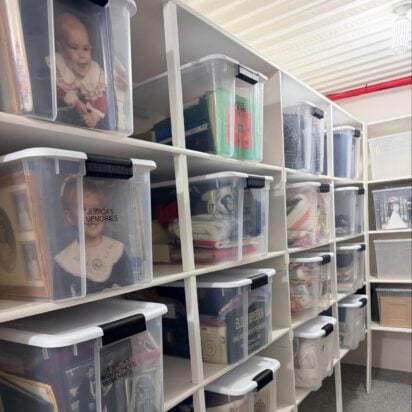
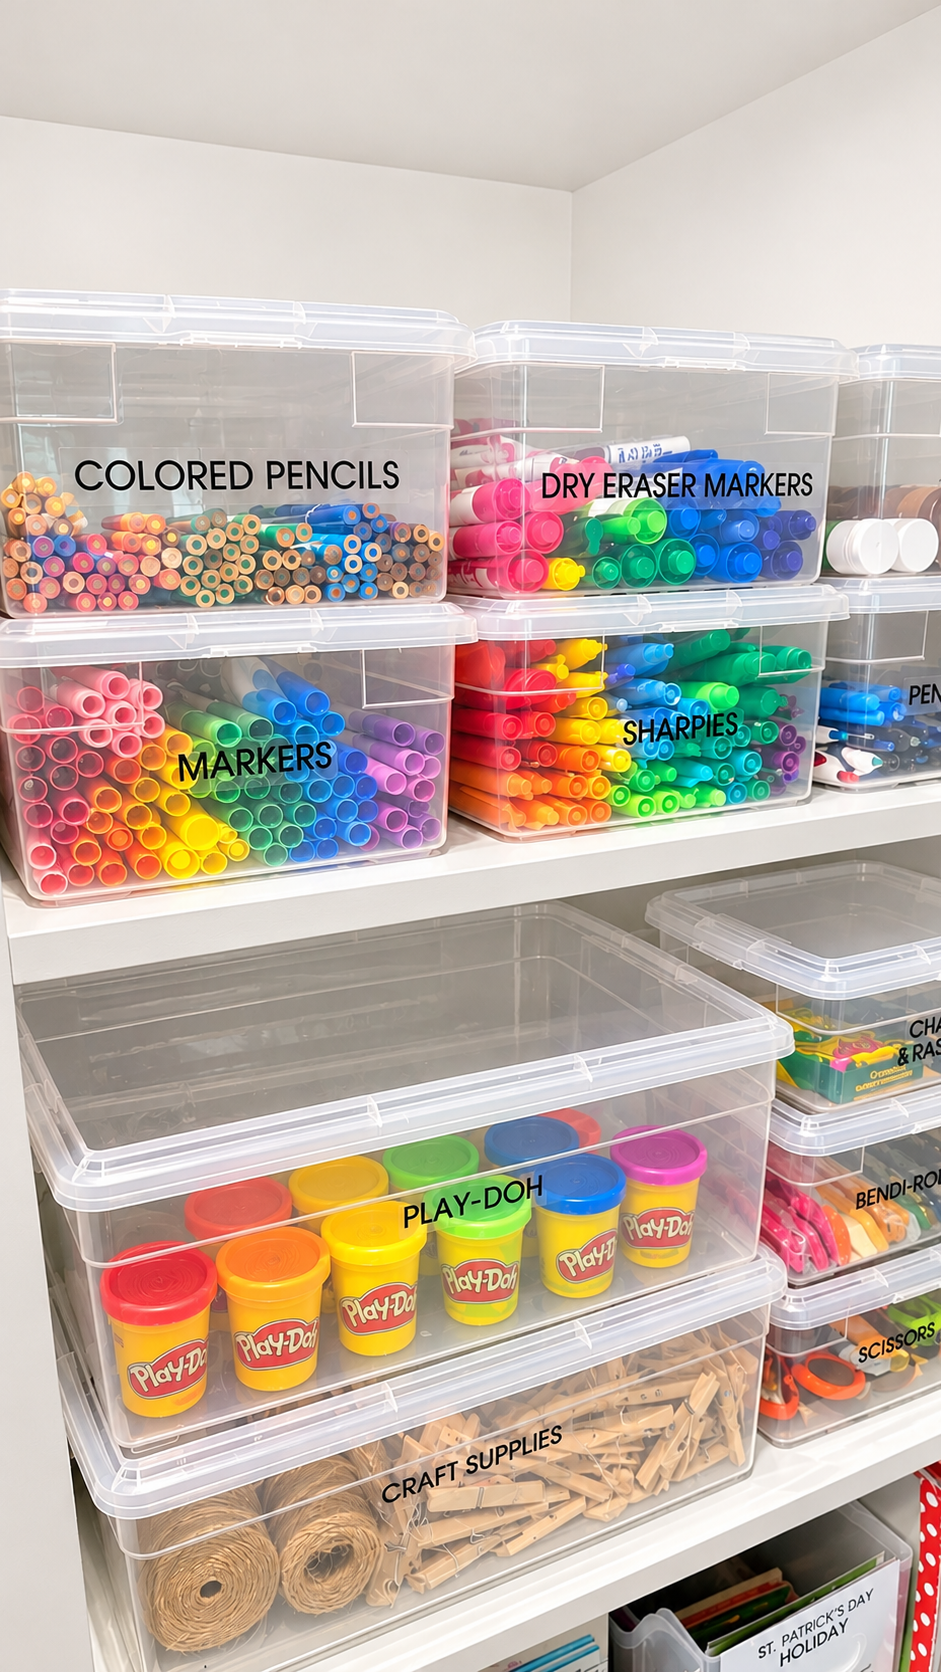
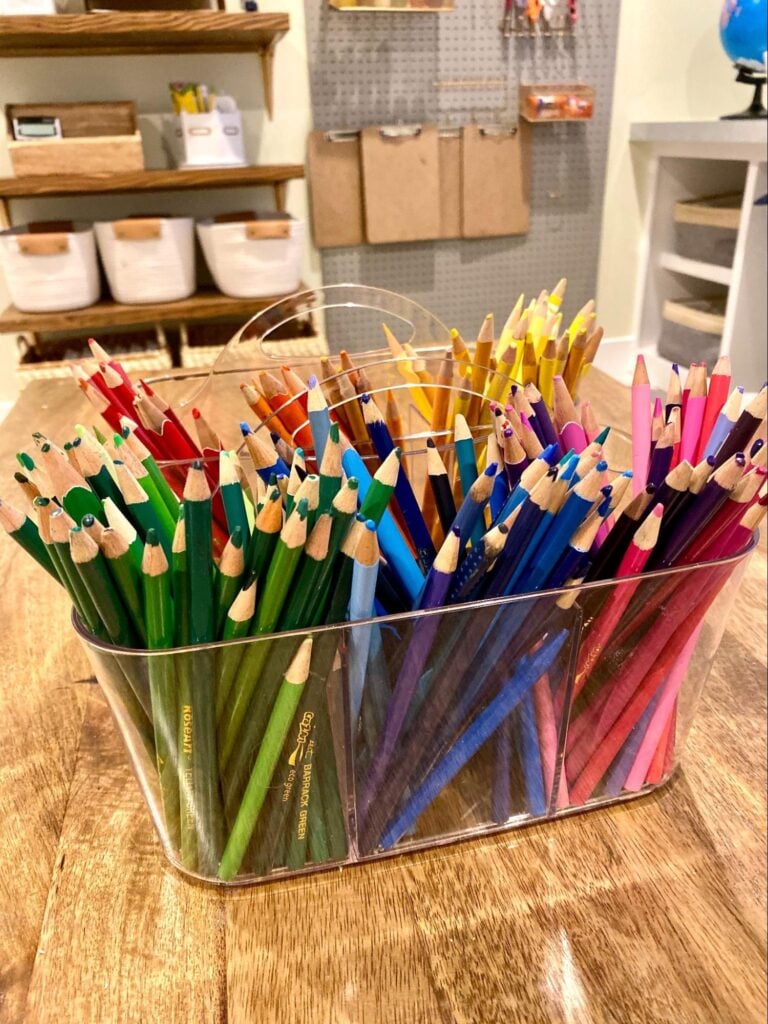
Clear containers are one of the simplest craft storage ideas because you can see what’s inside without opening a single lid. Use small bins for beads, buttons, and embellishments, medium ones for stamps and paper, and larger totes for bulk or seasonal supplies.
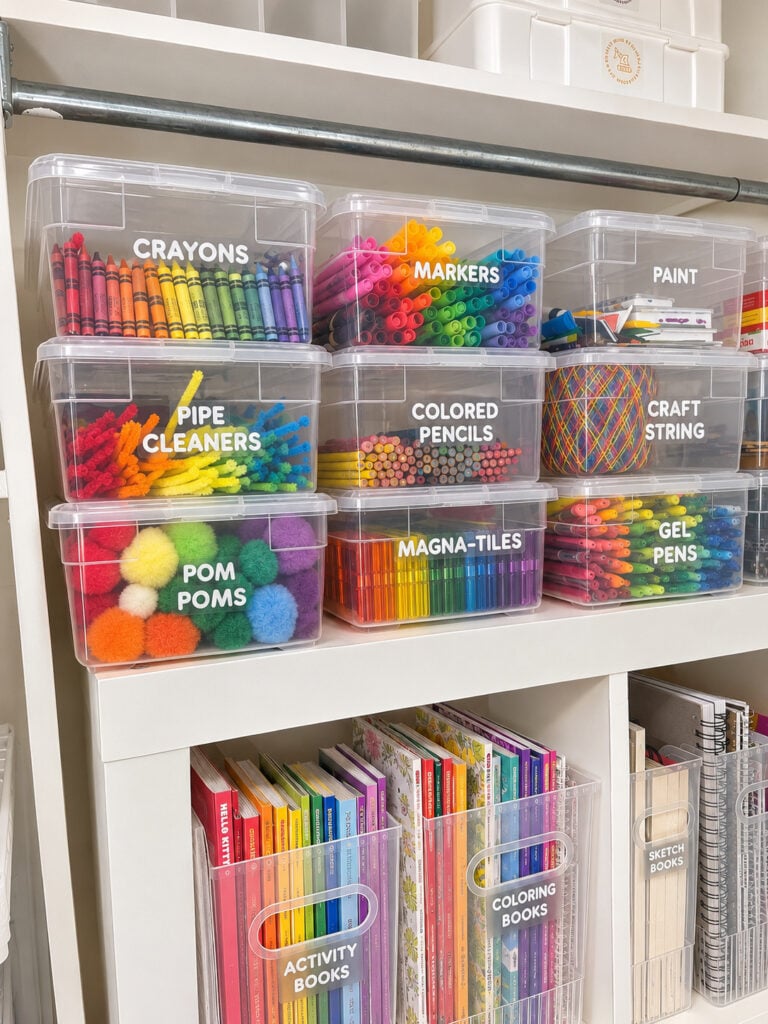
Then label every bin on the front rather than the lid, so the label stays visible when containers are stacked. A label maker works beautifully, but masking tape and a marker will do the job. Labels are what make a system stick because everyone in the household knows exactly where things go back. Without them, even the prettiest craft room storage solutions slowly slide back into chaos.
A rolling cart is a small-space hero. Keep your in-progress supplies on a three- or six-tier cart that you can wheel to the table, then tuck it into a corner or closet when you’re finished. Fill the drawers with the tools you reach for most, like scissors, tape, glue, and pens, and dedicate the top tier to the project you’re working on right now.
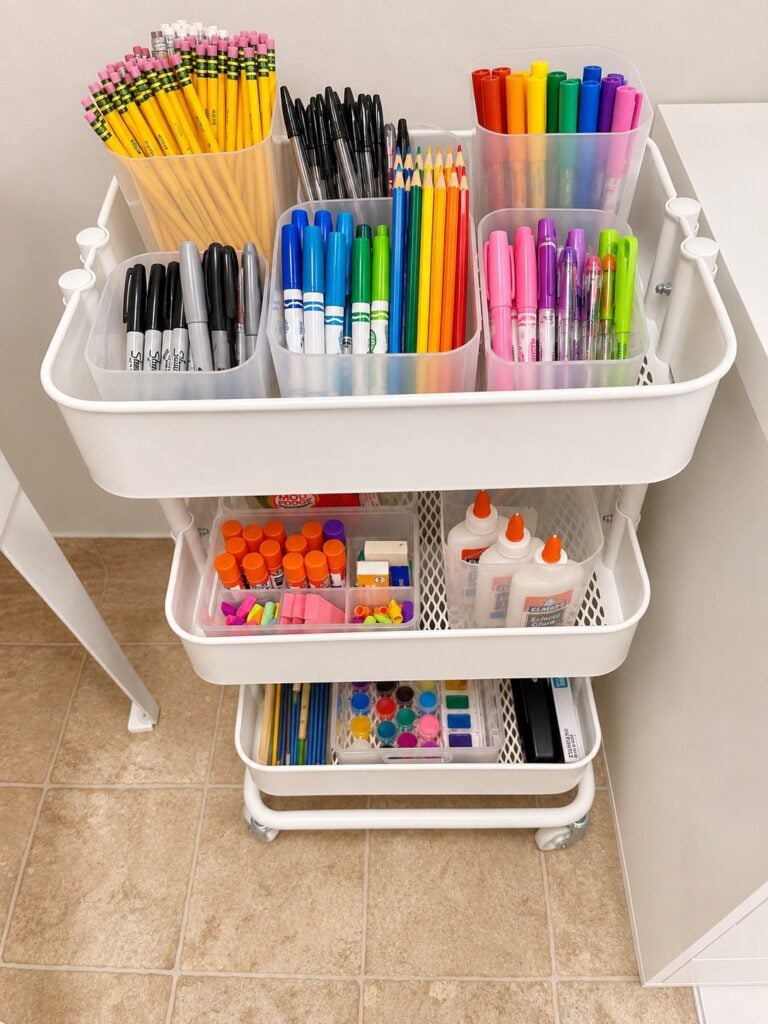
This one move keeps your table clear and makes it easy to pick up where you left off. It’s also a great option for renters or anyone who shares a room, since the whole setup can be moved in seconds.
A pegboard turns blank wall space into flexible storage. Hooks hold scissors, rulers, and spools of thread, while small baskets and shelves can hold glue guns, paintbrushes, and washi tape. Because a pegboard is fully customizable, you can rearrange it as your hobbies change.
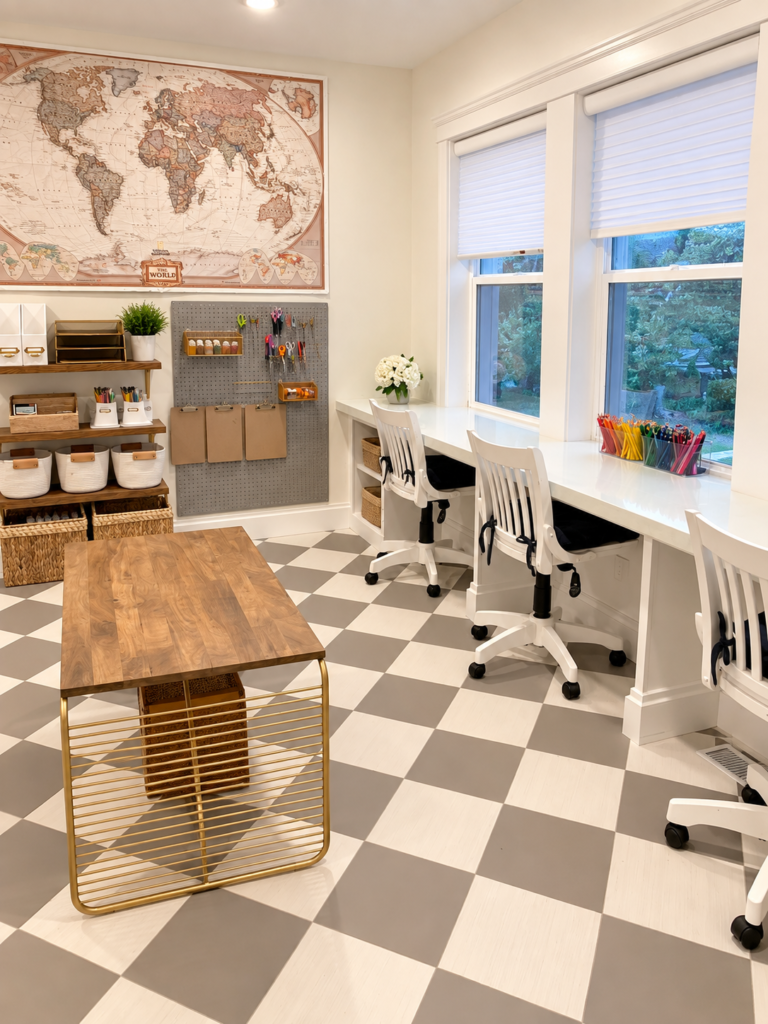
Paint the board a color that makes you happy, and consider outlining the shape of frequently used tools so you can tell at a glance when something hasn’t been put back. Hanging storage like this also keeps your most-used items within arm’s reach, which means less digging through drawers and more time actually making things.
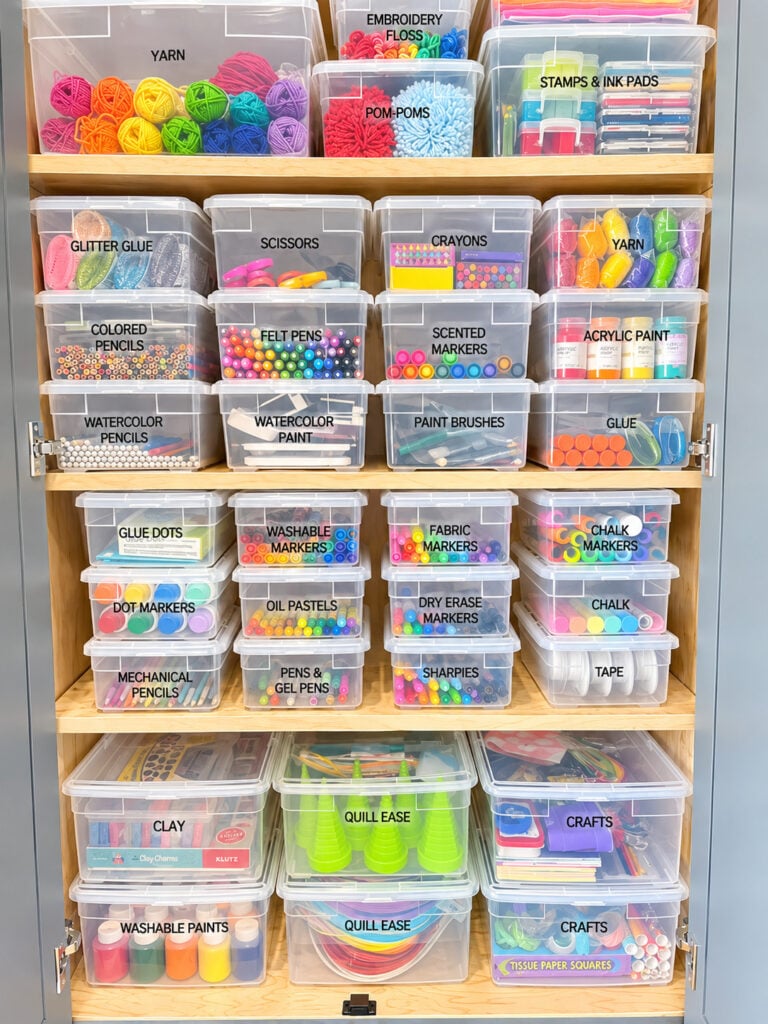
Instead of storing everything by size or color alone, organize by activity. Set up one zone for sewing, one for paper crafting, one for painting, and one for gift wrapping. Keep the tools and materials for each zone together so you never have to carry supplies across the room.
This is one of the most effective craft room organization ideas because it matches how you actually work. If you share the space with kids or a partner, color-coded bins or labels can help everyone find their zone and return items to the right place. Zones also make it easy to spot when you’re running low on a particular supply, which prevents duplicate purchases.
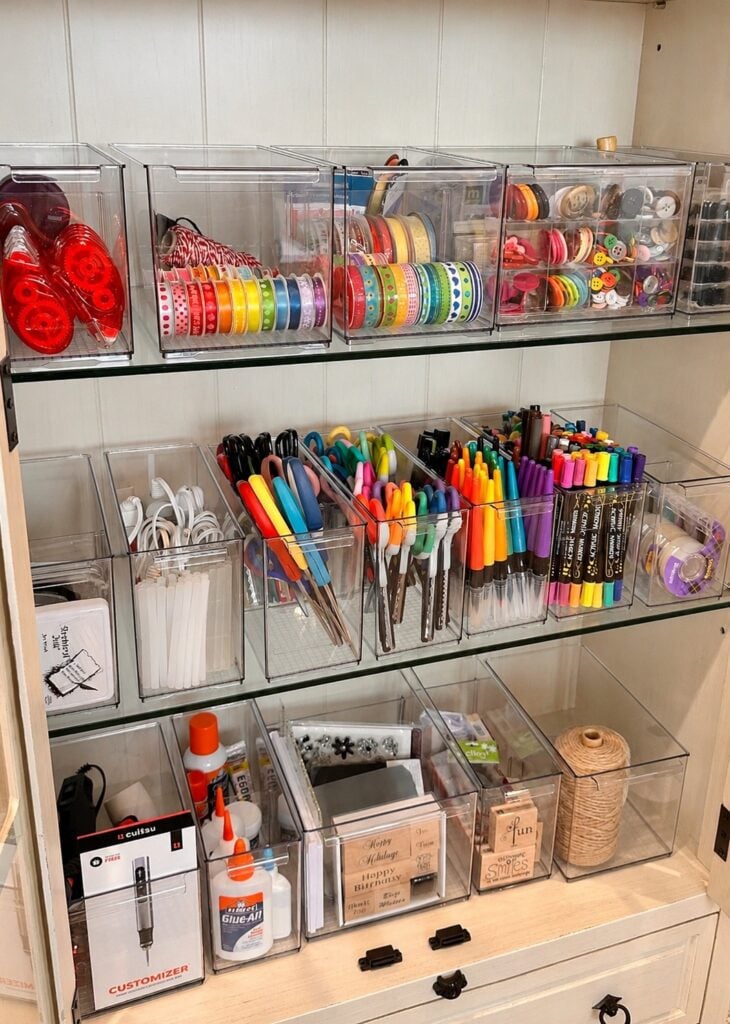
Small craft room organization is all about using space you may not realize you have. Over-the-door organizers hold paper, paint, and tools. Under-bed bins store bulky materials, and shallow desk drawers keep small items from migrating across your work surface. A fold-down wall desk or drop-leaf table gives you a place to create when you need it and gives the room back when you don’t.
Choose furniture that does double duty, like storage ottomans or a bookcase with a built-in desk. If space is really limited, rotate supplies seasonally: keep only what you’re actively using in the room and store the rest elsewhere in the house. A smaller, curated collection is easier to maintain and far more enjoyable to work with.
Soft and flat materials have different needs than hard supplies. Fold fabric around comic book boards so you can see every piece in a neat stack, and store yarn in cubbies or open baskets sorted by color or weight. Vertical file holders or a flat file cabinet protect scrapbook paper and cardstock from bending and tearing.
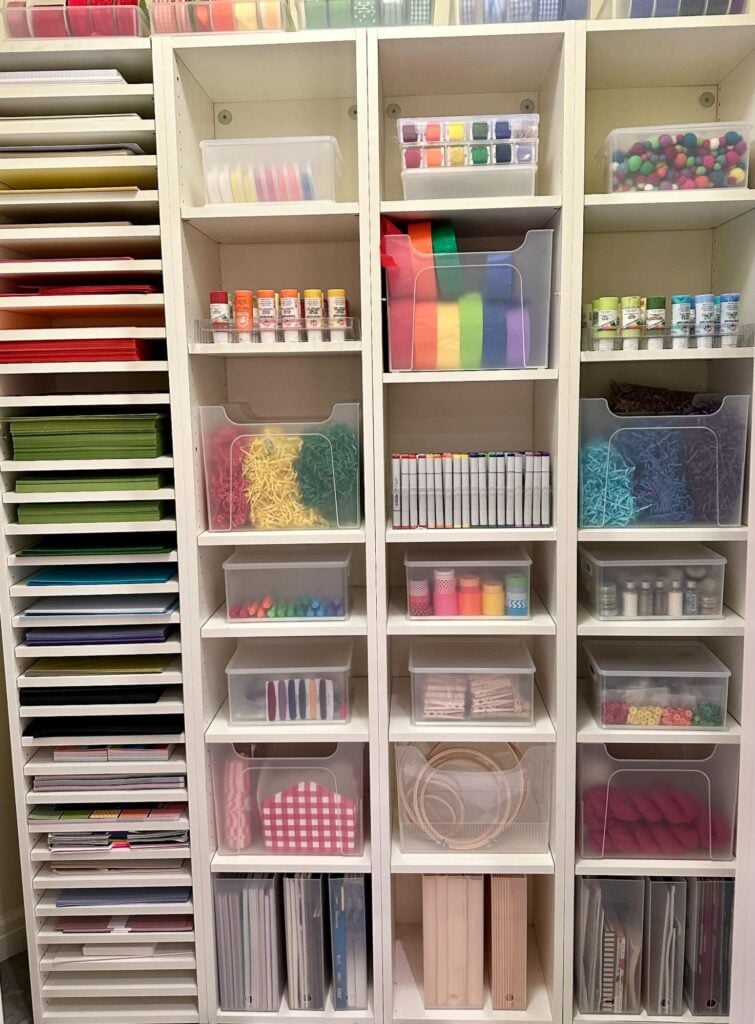
Keeping these materials separate from tools prevents snags, creases, and surprise paint smudges. It also turns your stash into a visible, inspiring collection instead of a hidden pile, which makes planning your next project part of the fun. If you want to organize craft supplies you use less often, store them in sealed bins on a higher shelf and label the contents clearly.
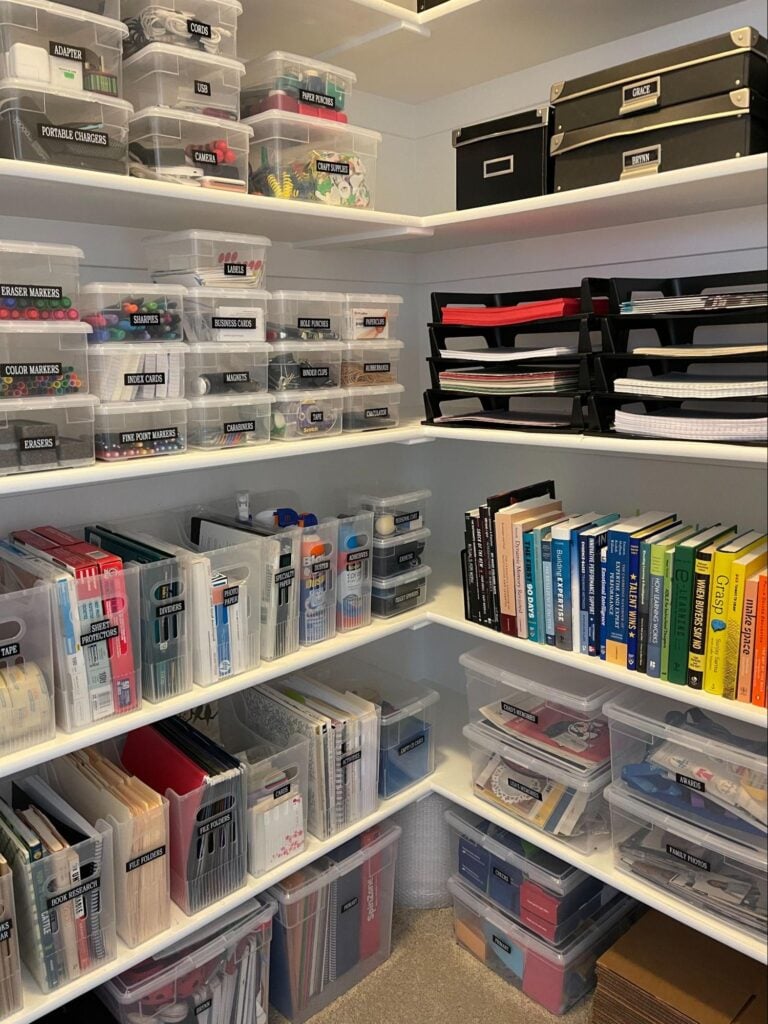
If you don’t have a spare bedroom, a closet can become a surprisingly efficient craft area. Install shelves from floor to ceiling, add a small fold-out table, and use the back of the door for hanging storage. When the doors close, the mess disappears, which is a big plus when guests come over.
If your supplies are currently scattered across a basement, garage, or hall closet, the same principles behind storage room organization can help you consolidate everything into one dedicated home. Bringing it all together also helps you see what you already own, so you stop buying duplicates.
Even the best system needs a little maintenance. Leave your main work surface empty except for what you’re using right now, and spend five minutes at the end of each session putting supplies back where they belong. Once a month, do a quick scan for anything you no longer use and pass it along.
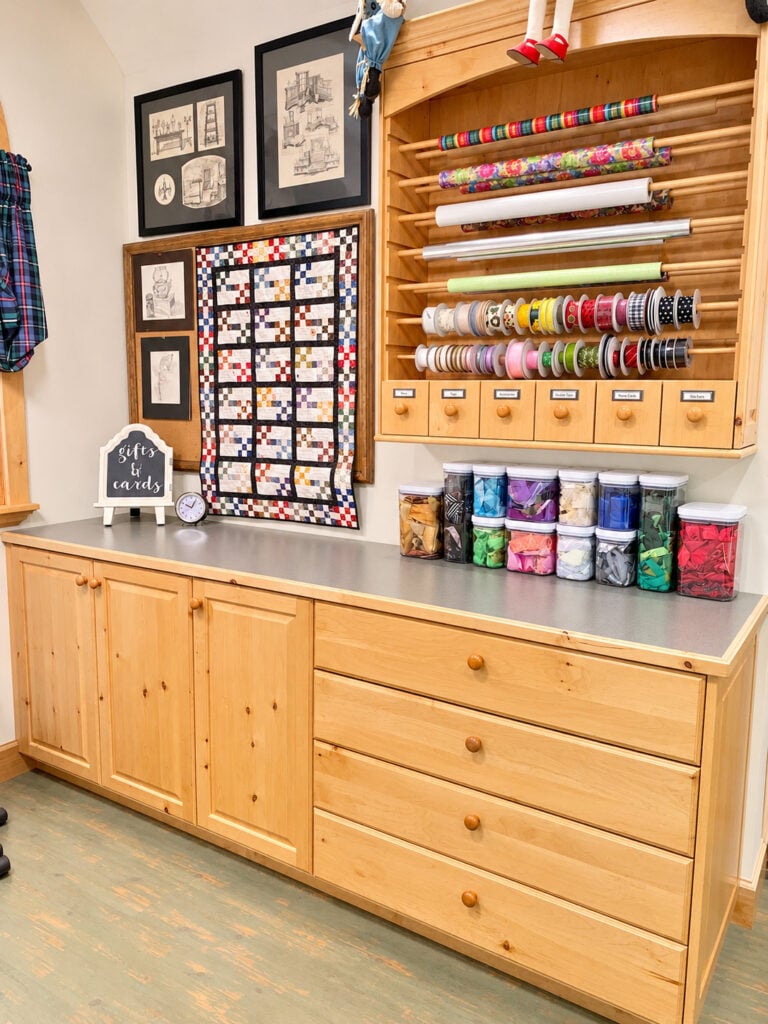
These small habits are the secret to organizing a craft room for the long haul, because they stop clutter before it builds up. Set a timer, play your favorite music, and make the reset part of the creative ritual. A clear table at the end of the day means you can start fresh the next time inspiration strikes.
You don’t have to tackle all 10 ideas at once. Start by sorting and decluttering, add shelving or a rolling cart, and build from there. The goal of craft room organization is simple: a space where you can find what you need and start creating right away.
If you’d like extra hands, our professional organizing services can help you design and set up a craft room that fits your space, your supplies, and your style. And if you’re interested in Tracy’s favorite organization products, you can shop them through her Amazon storefront or the Organize Simply LTK shop.